Image Source: pexels
Spider maps serve as visual tools that help generate and organize ideas. Effective brainstorming sessions lead to better comprehension and creative solutions. Spider maps provide a structured way to visualize relationships between concepts. This method fosters creativity and enhances understanding.
Understanding Spider Maps

Image Source: pexels
What is a Spider Map?
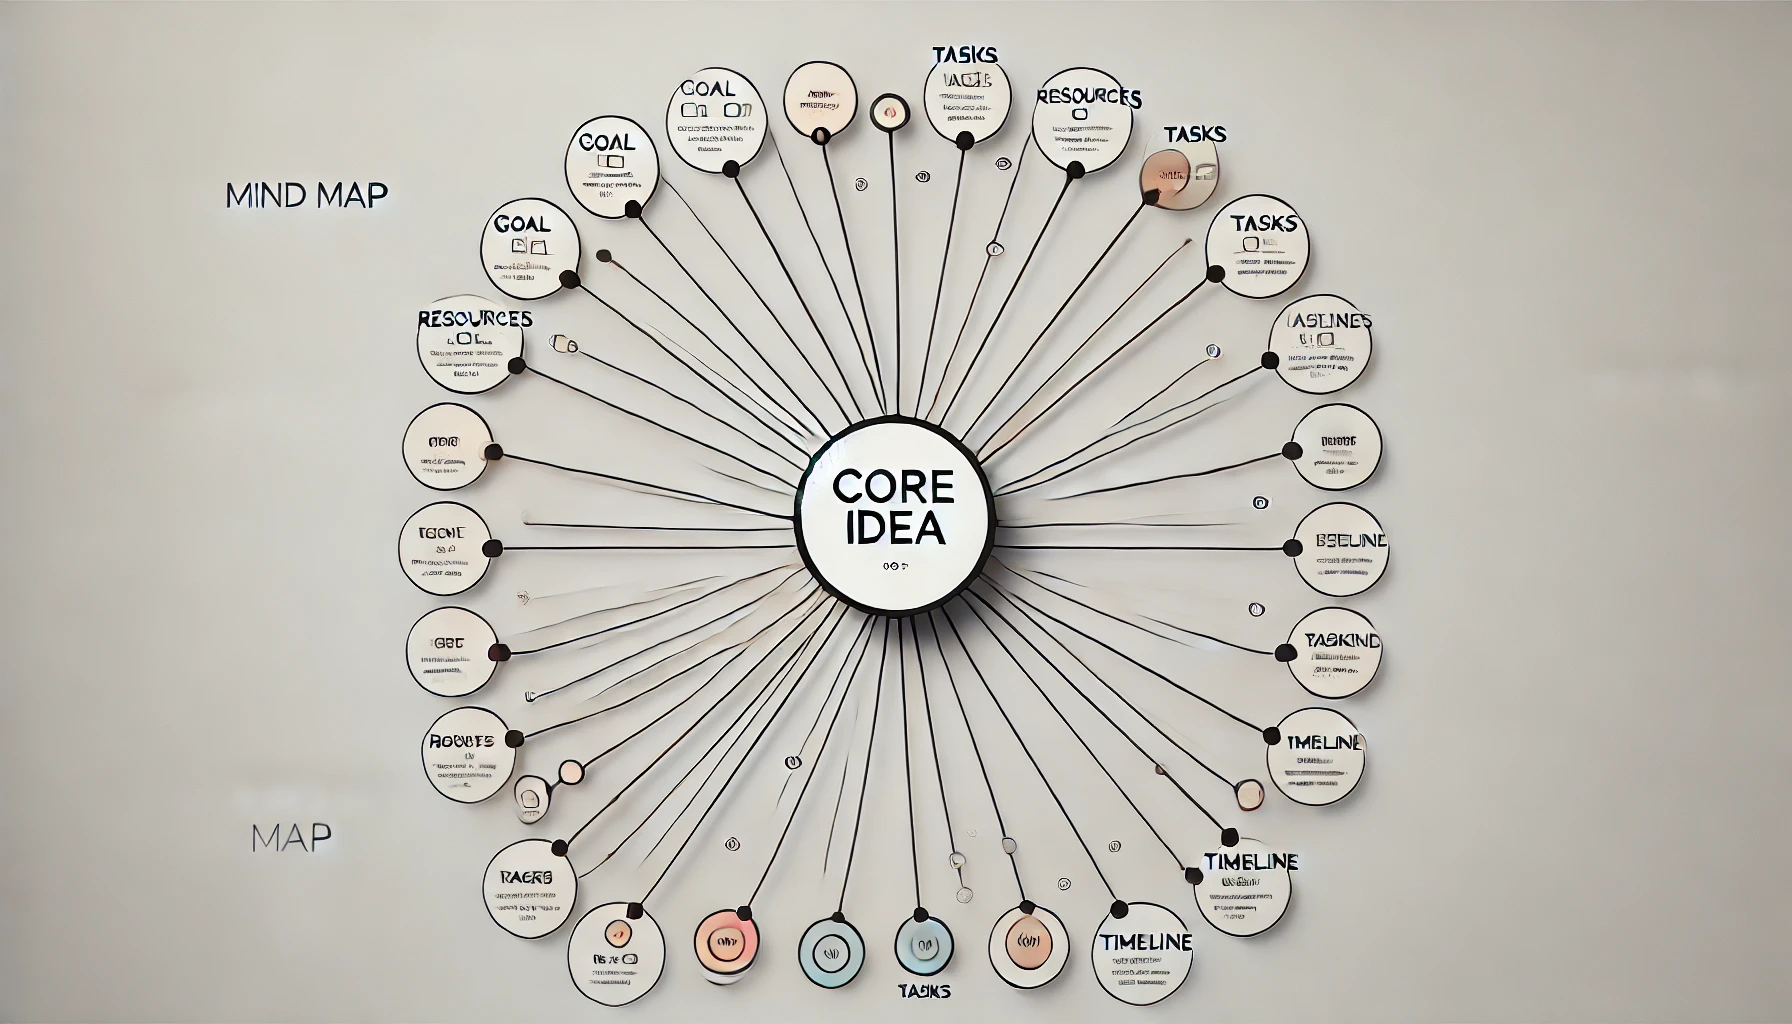
Definition and Basic Structure
A spider map, also known as a spider diagram or semantic map, serves as a visual tool for brainstorming. The structure resembles a spider’s web. Place the central topic in the middle. Draw lines outward to represent related subtopics. Further details extend from each subtopic. This layout helps visualize relationships between ideas.
Historical Background and Development
Spider maps have evolved over time. Educators and professionals have used them for decades. These maps originated as simple graphic organizers. Over time, they became more sophisticated. Today, people use spider maps for various purposes. These include brainstorming, planning, and understanding main ideas. The evolution of spider maps reflects their growing importance in organizing information.
Key Components of a Spider Map
Central Idea or Topic
The central idea forms the core of a spider map. Place this main concept in the center. This serves as the starting point for all other branches. The central idea should be clear and concise. This ensures that all related subtopics connect logically.
Branches and Sub-Branches
Branches extend from the central idea. Each branch represents a major subtopic. From these branches, draw sub-branches. These sub-branches contain more specific details. This hierarchical structure helps organize information. It also makes it easier to identify connections between ideas.
Visual Elements and Symbols
Visual elements enhance the effectiveness of spider maps. Use colors to differentiate between branches. Symbols can represent different types of information. For example, use icons to denote important points. Visual elements make the map more engaging. They also help in quickly identifying key information.
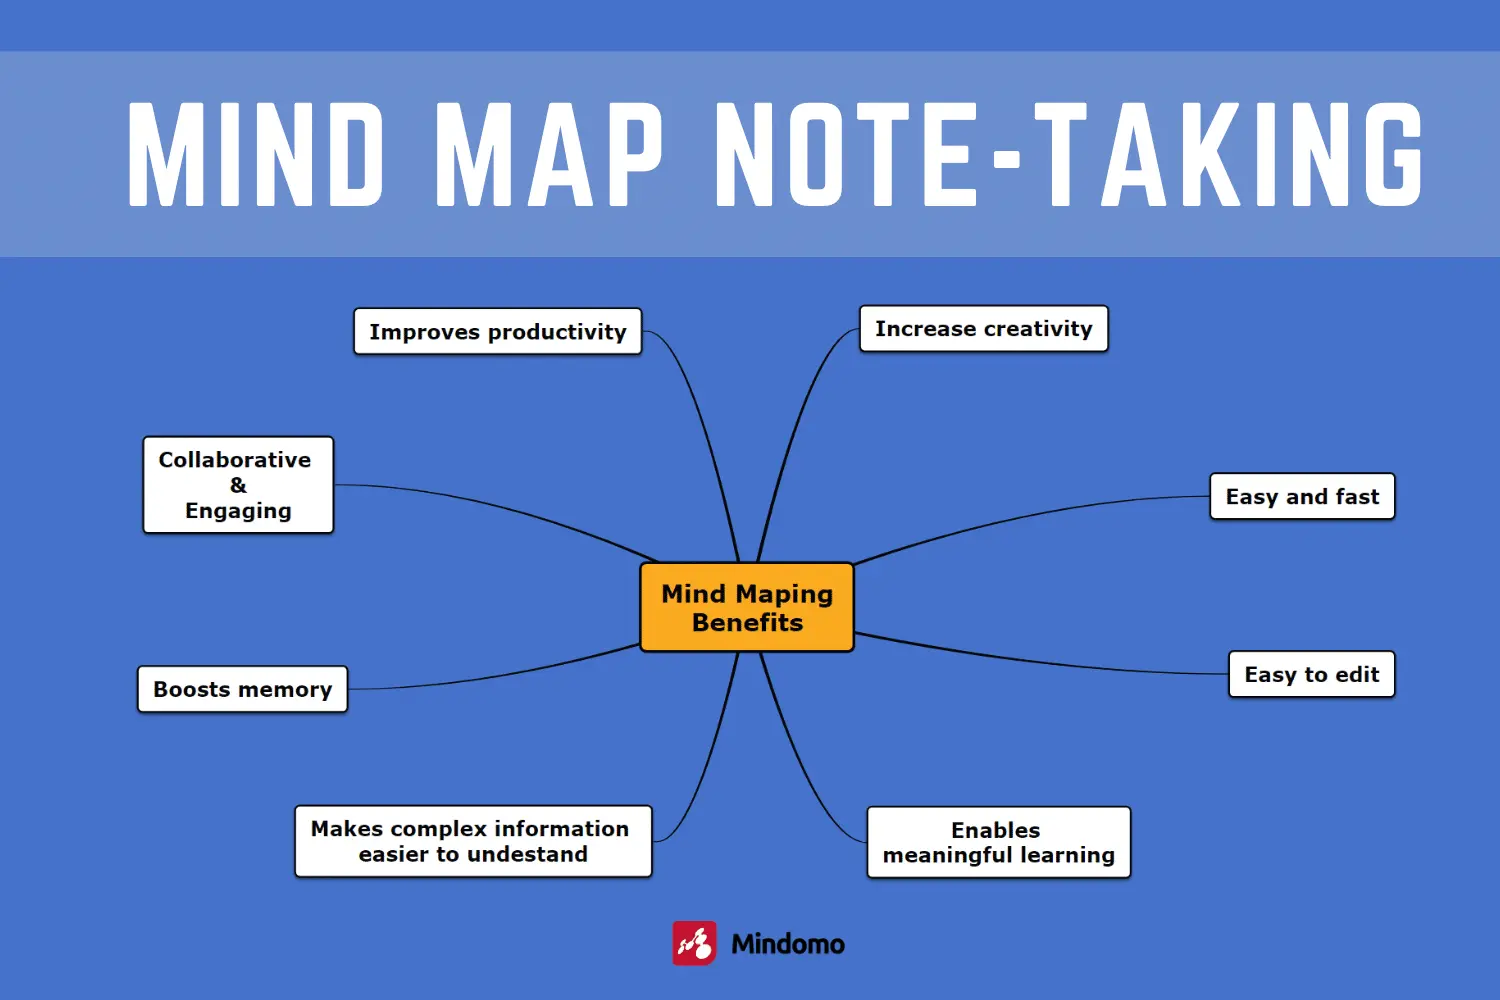
Benefits of Using Spider Maps in Brainstorming
Improves Organization
Visual Representation of Ideas
Spider maps provide a clear visual representation of ideas. The central topic sits in the middle, with branches extending outward. Each branch represents a subtopic. This layout helps you see all ideas at a glance. The visual format makes it easier to understand complex information.
Easy to Identify Connections and Relationships
Spider maps make it easy to identify connections and relationships between ideas. The branching structure shows how different concepts relate to each other. This helps you see patterns and links that might not be obvious otherwise. Identifying these connections can lead to new insights and solutions.
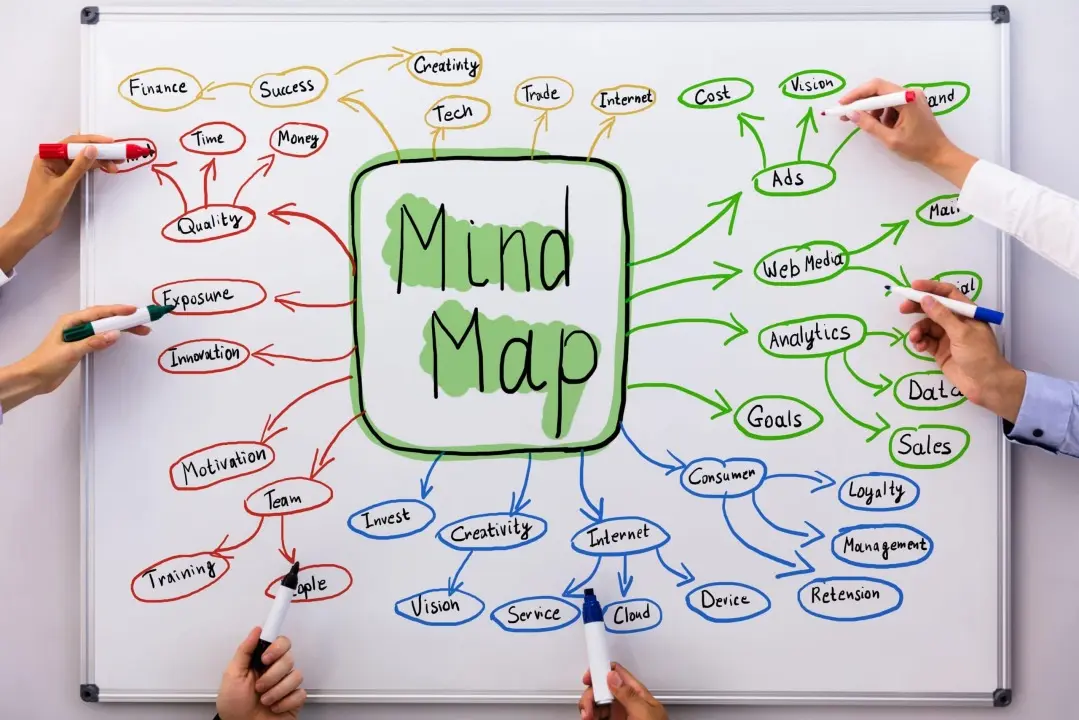
Facilitates Collaboration
Engages Team Members
Spider maps engage team members in brainstorming sessions. The visual format encourages everyone to contribute ideas. Each person can add branches and sub-branches. This collaborative approach ensures that all voices get heard. Engaging everyone leads to a richer pool of ideas.
Spider maps promote collective idea generation. Team members build on each other’s ideas. The map grows as more branches and sub-branches get added. This process fosters creativity and innovation. Working together on a spider map can lead to unique and effective solutions.
How to Create a Spider Map
Step-by-Step Guide
Choosing the Central Idea
Start by selecting the central idea for your spider map. This main concept should be clear and concise. Place this idea in the center of your workspace. This serves as the foundation for all other branches.
Adding Main Branches
Draw lines radiating out from the central idea. Each line represents a major subtopic related to the main concept. Aim for 4-5 primary branches to keep the map organized. These branches will help structure your thoughts.
Expanding with Sub-Branches
From each main branch, add sub-branches. These sub-branches should contain more specific details or examples. Continue branching out as needed. This hierarchical structure allows for a thorough exploration of ideas.
Using Colors and Symbols for Clarity
Enhance your spider map with colors and symbols. Use different colors for each branch to differentiate between subtopics. Incorporate symbols to represent various types of information. For example, use icons to highlight important points. This visual enhancement makes the map more engaging and easier to understand.
Several digital tools can help you create spider maps. EdrawMax Online offers a rich toolset with drag-and-drop features. This tool includes color themes and import options for maximum customization. Creately provides an easy-to-use Spider Diagram Maker. This tool helps visualize information effectively. Storyboard That makes brainstorming fun and engaging, especially for students.
Traditional Methods (e.g., Paper, Whiteboards)
Traditional methods also work well for creating spider maps. Use paper and colored pens to draw your map. Whiteboards offer a larger surface for collaborative brainstorming. Both methods allow for quick adjustments and additions. Traditional tools provide a tactile experience that some people find beneficial.
Practical Examples of Spider Maps
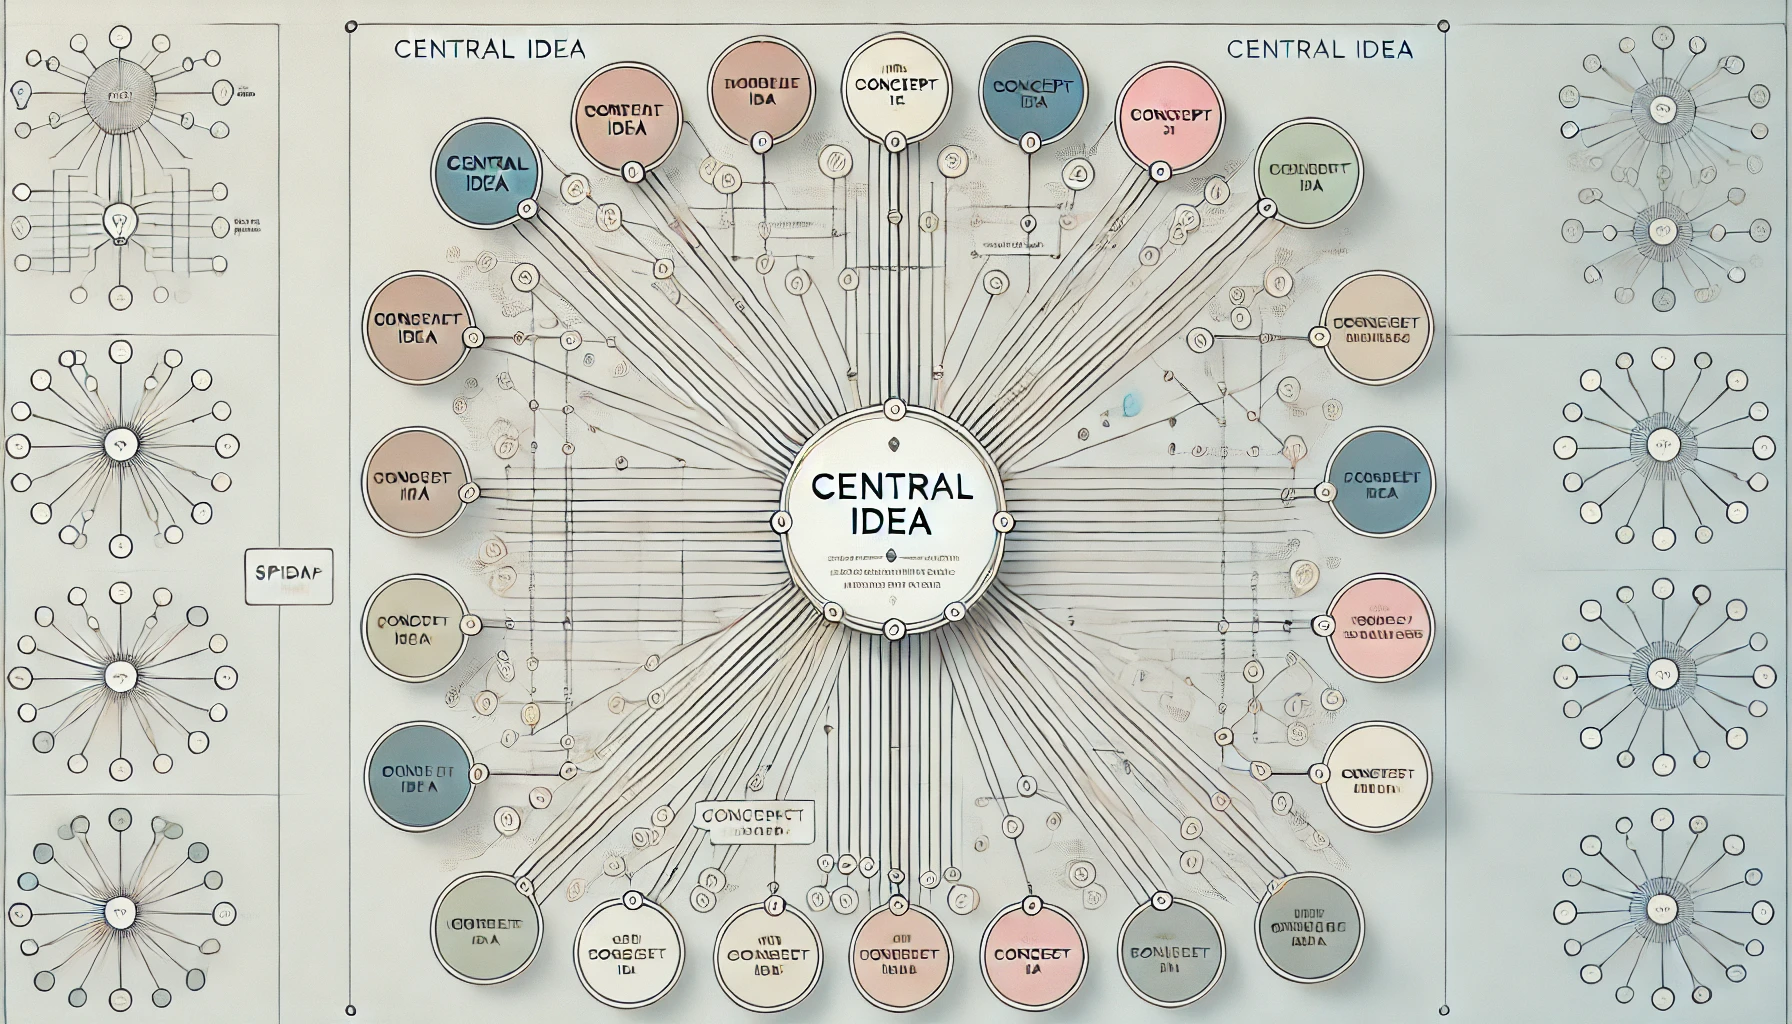
Image Source: pexels
Educational Settings
Lesson Planning
Teachers can use spider maps to plan lessons effectively. Start with the central topic of the lesson in the middle. Draw branches for key points to cover. Add sub-branches for specific activities or materials. This method helps organize the lesson structure clearly. Visualizing the lesson plan ensures all essential elements get covered.
Student Projects
Spider maps serve as excellent tools for student projects. Begin with the project topic at the center. Students can create branches for different sections of the project. Each branch can include sub-branches for detailed information. This approach helps students organize their research and ideas. Teachers can also customize spider maps into worksheets for individual or group work. This encourages active participation and collaboration among students.
Personal Use
Goal Setting
Spider maps can assist in setting personal goals. Place the main goal in the center. Draw branches for different aspects of the goal. Add sub-branches for specific actions or steps. This visual layout helps break down large goals into manageable tasks. Seeing the steps clearly can motivate you to achieve your objectives.
Problem-Solving
Use spider maps for effective problem-solving. Start with the problem in the center. Create branches for possible solutions or factors contributing to the problem. Expand with sub-branches for detailed analysis. This method helps visualize all aspects of the problem. Identifying connections between different factors can lead to innovative solutions.
Tips for Effective Use of Spider Maps
Use Colors and Symbols
Colors and symbols can enhance the clarity of spider maps. Different colors can distinguish between branches. Symbols can represent various types of information. For example, icons can highlight important points. This visual enhancement makes the map more engaging.
Keep It Simple
Start with basic ideas and expand gradually. Avoid overcrowding the map with too many details at once. Focus on the main concepts first. Add sub-branches as needed. Simplicity helps maintain a clear structure.
Encourage Quantity Over Quality
During brainstorming, aim to generate many ideas. Do not judge the quality of ideas initially. Quantity can lead to unexpected connections and insights. Later, refine and evaluate the ideas.
Collaborate with Others
Use spider maps in group settings. Collaboration can pool diverse perspectives. Team members can add branches and sub-branches. This collective effort enriches the brainstorming session. Engaging everyone leads to a richer pool of ideas.
Reflect on Effectiveness
Reflect on the effectiveness of spider maps in note-taking. Students have found spider maps helpful for organizing thoughts. The visual layout aids in understanding complex information. Regular reflection can improve the use of spider maps.
Consider using online spider map makers. Digital tools offer easy editing and sharing options. Software like EdrawMax Online and Creately provide rich features. These tools can enhance the brainstorming process.
Spider maps offer numerous benefits for brainstorming. These tools improve organization, facilitate collaboration, and enhance creativity. The visual layout helps you see connections between ideas. Spider maps also engage team members in collective idea generation. Try using spider maps in your next brainstorming session. This method can lead to innovative solutions and better understanding.

.pHGuAiTS_ZtVcxn.webp)